Smart Home Series Workshop
Learning how RFID tags work, the secret to your door access!
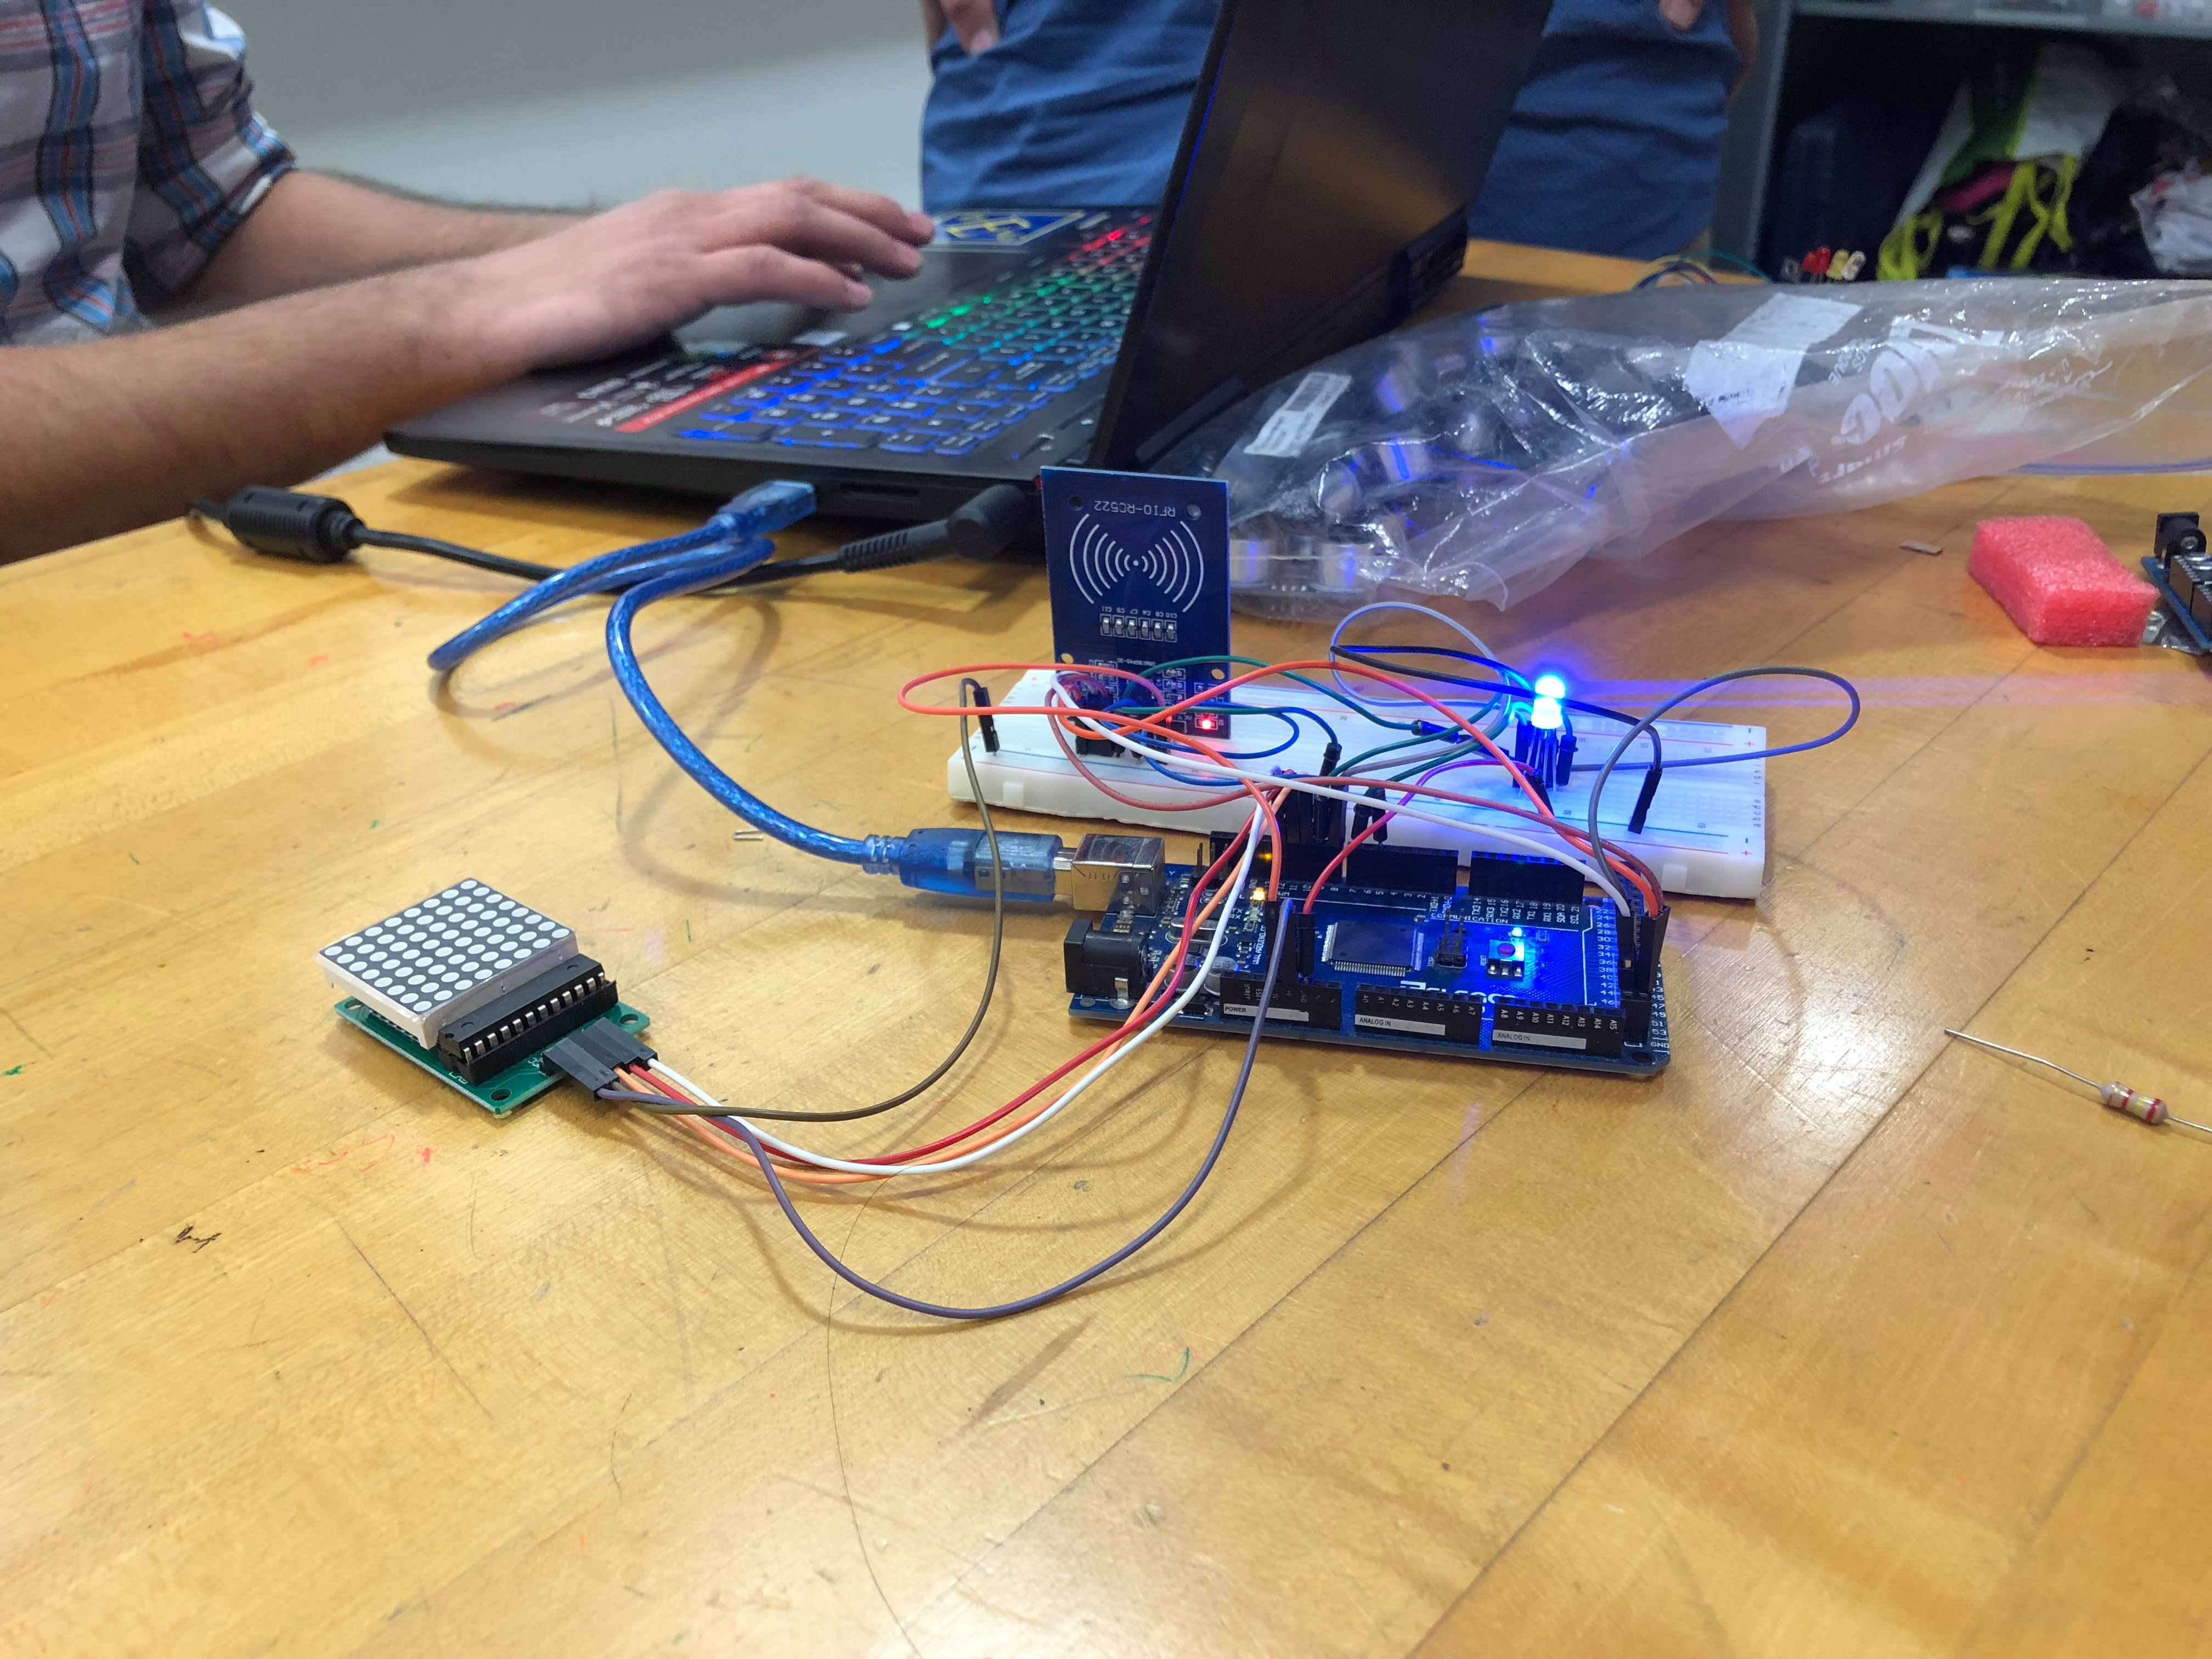
Do you know what an RFID tag is? If not, let’s find out! RFID tag is a small chip embedded in your access cards that contains encrypted information. The main components of an RFID system is a transmitter and a receiver. The transmitter here is the RFID tag or your ID card and the receiver is the card reader or transceiver. This can be used in home security and many other applications. RFID, short for radio-frequency identification uses the concept of electromagnetic fields to detect its unique identification number (UID). This is all done wirelessly.
Everyone was very keen on this workshop, most students sucessfully got their RFID door access system up and running. We felt like real accomplished engineers.
Objective: Create a reader system using RFID tag and arduino.
What You'll Need:
- A computer (Mac/ Windows)
- All of the items are in this kit additionally you will also need an arduino uno and its USB cable
- Motivation to make the best darn home automation project
Prelude - Installing Arduino IDE: Grab it here. There are versions available for all operating systems.
Sources for DIY:
Arduino
Electronics
RFID interfacing with Arduino